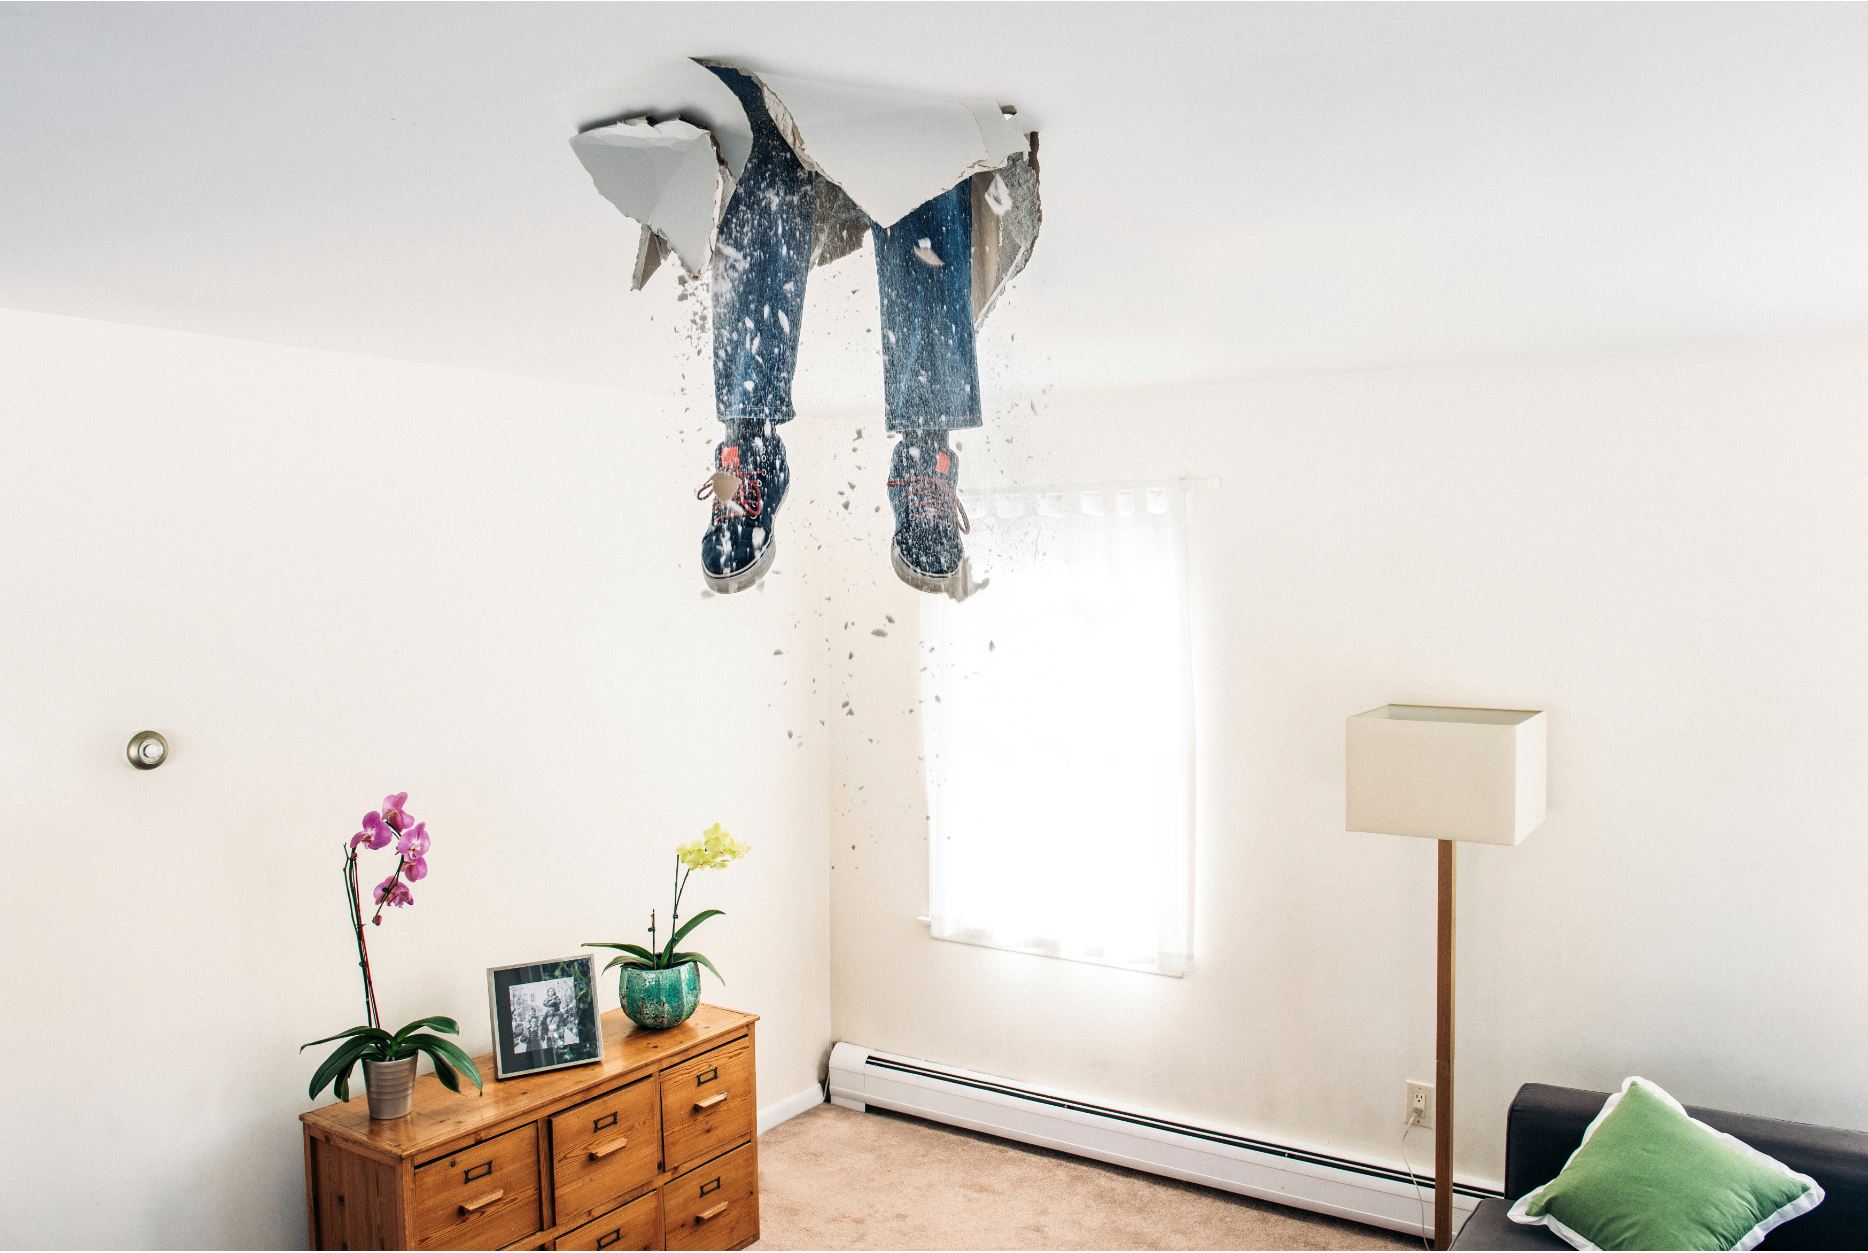
In today’s Australian property market, pre-purchase building inspections are very much the norm and this will no doubt continue given the value they provide to prospective purchasers. The increasing popularity of this service is welcomed by timber pest and building inspectors – more business! – but a challenge arises if the roof cavity (aka roof void) is inaccessible. This article discusses how to safely access a roof void when conducting an inspection.
Roof void inspection is a must
As you would be well aware, it’s crucial to check the roof area for issues such as damaged tiles, termites and other pests, inadequate downlight protector installation and lack of insulation.
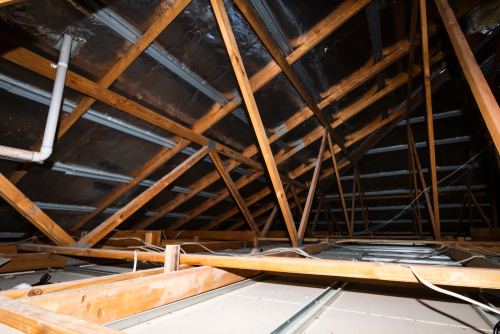
The roof space is usually reachable through a manhole and comes in varied forms, such as:
- Gyprock/fibro/timber covers
- Doorways into side voids
- Ceiling fold down ladders
Industry standards require you check the roof void in each and every inspection. That is, unless you don’t have reasonable access or a manhole does not exist.
Rapid Solutions often takes enquiries from clients concerning the lack of a manhole at a customer’s home or where the accessing of the customer’s manhole is unsafe or will cause damage.
Have you found yourself in this bind? Read on.
How to report on inaccessible manholes
If you’ve found the roof void inaccessible for some reason, it’s very important to advise the customer in your pre-purchase inspection report that entry was not available. Also record why this is the case and that inspection of the roof void is necessary as timber pest activity or evidence or building faults may be present. State that, due to the access restriction, no report will be made for the roof void.
Your customer documentation should recommend that safe access to the roof void must be provided before it can be inspected. You should also recommend that safe entry and inspection of the roof void should be carried out prior to a purchase decision.
This may involve a new manhole being fitted in an area from which safe and reasonable access can be made.
Your customer will also appreciate you explaining why it’s important that you safely access the roof void. Explain verbally (unless that’s not at all possible) so you have covered all bases and done your best to make them fully aware of the situation.
Where might that manhole be?
Be aware that even if you can’t find the manhole initially, it may still exist in the property. Often they’re placed out of sight and/or where they won’t be noticed. This includes inside cupboards and laundries, in bathrooms behind false panelling, and between cupboards where the fridge is placed.
Sometimes they’re located too far out from a wall and/or are too narrow for the ladder to go through the opening. Frequently they’re placed close to an outer wall where the pitch of the roof hampers access.
You’ll find that sometimes the manhole to the roof void could be accessible but, instead, furniture blocks it. In this case, the Australian Standard AS 4349.1-2007 section 3.2.1 excludes furnishings and the like – an inspector does not move furniture or appliances; the inspection must be limited to a visual inspection only.
The Standard also states that ceiling access should be 400mm x 500mm, yet many access points unfortunately don’t measure to this size. The Standard also says crawl space of 600mm X 600mm should be available.
What you’ll typically be checking
During a roof inspection, you will have several key areas to check for potential pest-related issues. Though not an exhaustive list, below are some common aspects you might inspect:
Roof materials
You’ll examine the condition of the roofing materials, such as tiles, shingles, or metal sheets. Damaged or deteriorated roofing can provide entry points for pests, so look for signs of cracks, gaps, or missing sections. Use your experience to hone in on areas that look suspicious.
Gutters and downspouts
Inspect the gutters and downpipes to ensure they’re clear of debris and properly functioning. Clogged gutters can lead to water accumulation, which can attract all kinds of pests like termites.
Ventilation openings
Check each ventilation opening, such as vents and exhaust fans, to ensure they’re adequately screened and in good condition. Properly functioning screens prevent pests like birds, rodents, or insects from entering the attic or crawl spaces.
Eaves and soffits
Inspect the eaves and soffits for any signs of damage or openings. These areas are vulnerable as they often have small gaps or cracks that pests can use to get into the roof and building.
Chimneys and flues
If there are chimneys or flues present, you’ll want to examine them for potential pest entry points. Check the chimney caps, screens and/or dampers to ensure they’re intact and properly installed, preventing rodents, birds, bats and other pests from entering.
Overhanging tree branches
Overhanging tree branches close to the roof can provide easy access for the likes of rodents and possums. Assess if any branches need trimming to eliminate potential entry points.
Signs of pest activity
Be vigilant for signs of pest activity, such as droppings, gnaw marks, nesting materials, or any other indicators that pests have already accessed the roof. These signs can obviously help identify the type of pest and their potential entry points.

How to safely access and inspect a roof void
Before you begin carrying out roof void inspections, make sure your ladder is suitable for accessing standard-size manholes.
Upon conducting an inspection, you should:
- Ask the owner or occupier where the manhole is located and if there’s more than one. That will hopefully save you the search.
- Assess the manhole and its placement for risk, with the aim to be able to use it to safely access the roof void.
- If your ladder won’t go through the opening, make sure the end you place against the wall is padded with mark-proof padding.
- Ensure you’re wearing your PPE, including mask or respirator, before opening a manhole. There will likely be dust and may also be bird nesting or rodent droppings on the back side of the cover (if so, there’s the potential to refer or conduct pest management work).
- Check after lifting the cover that there’s no termite, borer or other damage immediately around the manhole. That way you know the entry area will support your weight.
- Proceed with care and a keen eye. If possible, report as you go, to ensure you note and record all important findings.
More reading for your business
The Rapid Solutions blog has a wide range of reading to help you build a best practice business. Here are just five articles you may find useful:
- Keeping Records: How To Do It Efficiently and Why It Matters
- 5 Tips For Pet Safety During Pest Control
- How To Set Up Your Pest Control Truck
- 5 EOFY Tips For Your Pest Control Or Building Inspection Business
- Interview with Rapid Training Pest Control Graduates, Sheri and Steve
A final note
Remember that if a person carrying out this type of work can (with reasonable safety) access through the manhole then you’d be expected to do so even if the access opening is less than 400mm X 500mm.
Also remember that if you’re conducting this kind of business activity it comes with the potential for injury to you, your team member or the property owner or occupier. It could also result in damage to the property. So, consider the need to reduce your financial risk in this regard by taking out professional indemnity insurance and general liability insurance. Contact Rapid Solutions today to see how we can help.